

Howdy Vados!
It’s Jonathan here with another signature DR:TX Rules Ramble, leading up to our September live event THE FALL OF THE SAN SABA BOARD! This is our second part of our Season 5 finale, led by Heather Halstead and Jonathan Loyd. Each week, I’ll discuss in detail an aspect of the upcoming event, compiling the rules and lore into one easy place to read! This week, we are covering one of the key mechanics for representing the War for Bravado, our Capture the Flag events.
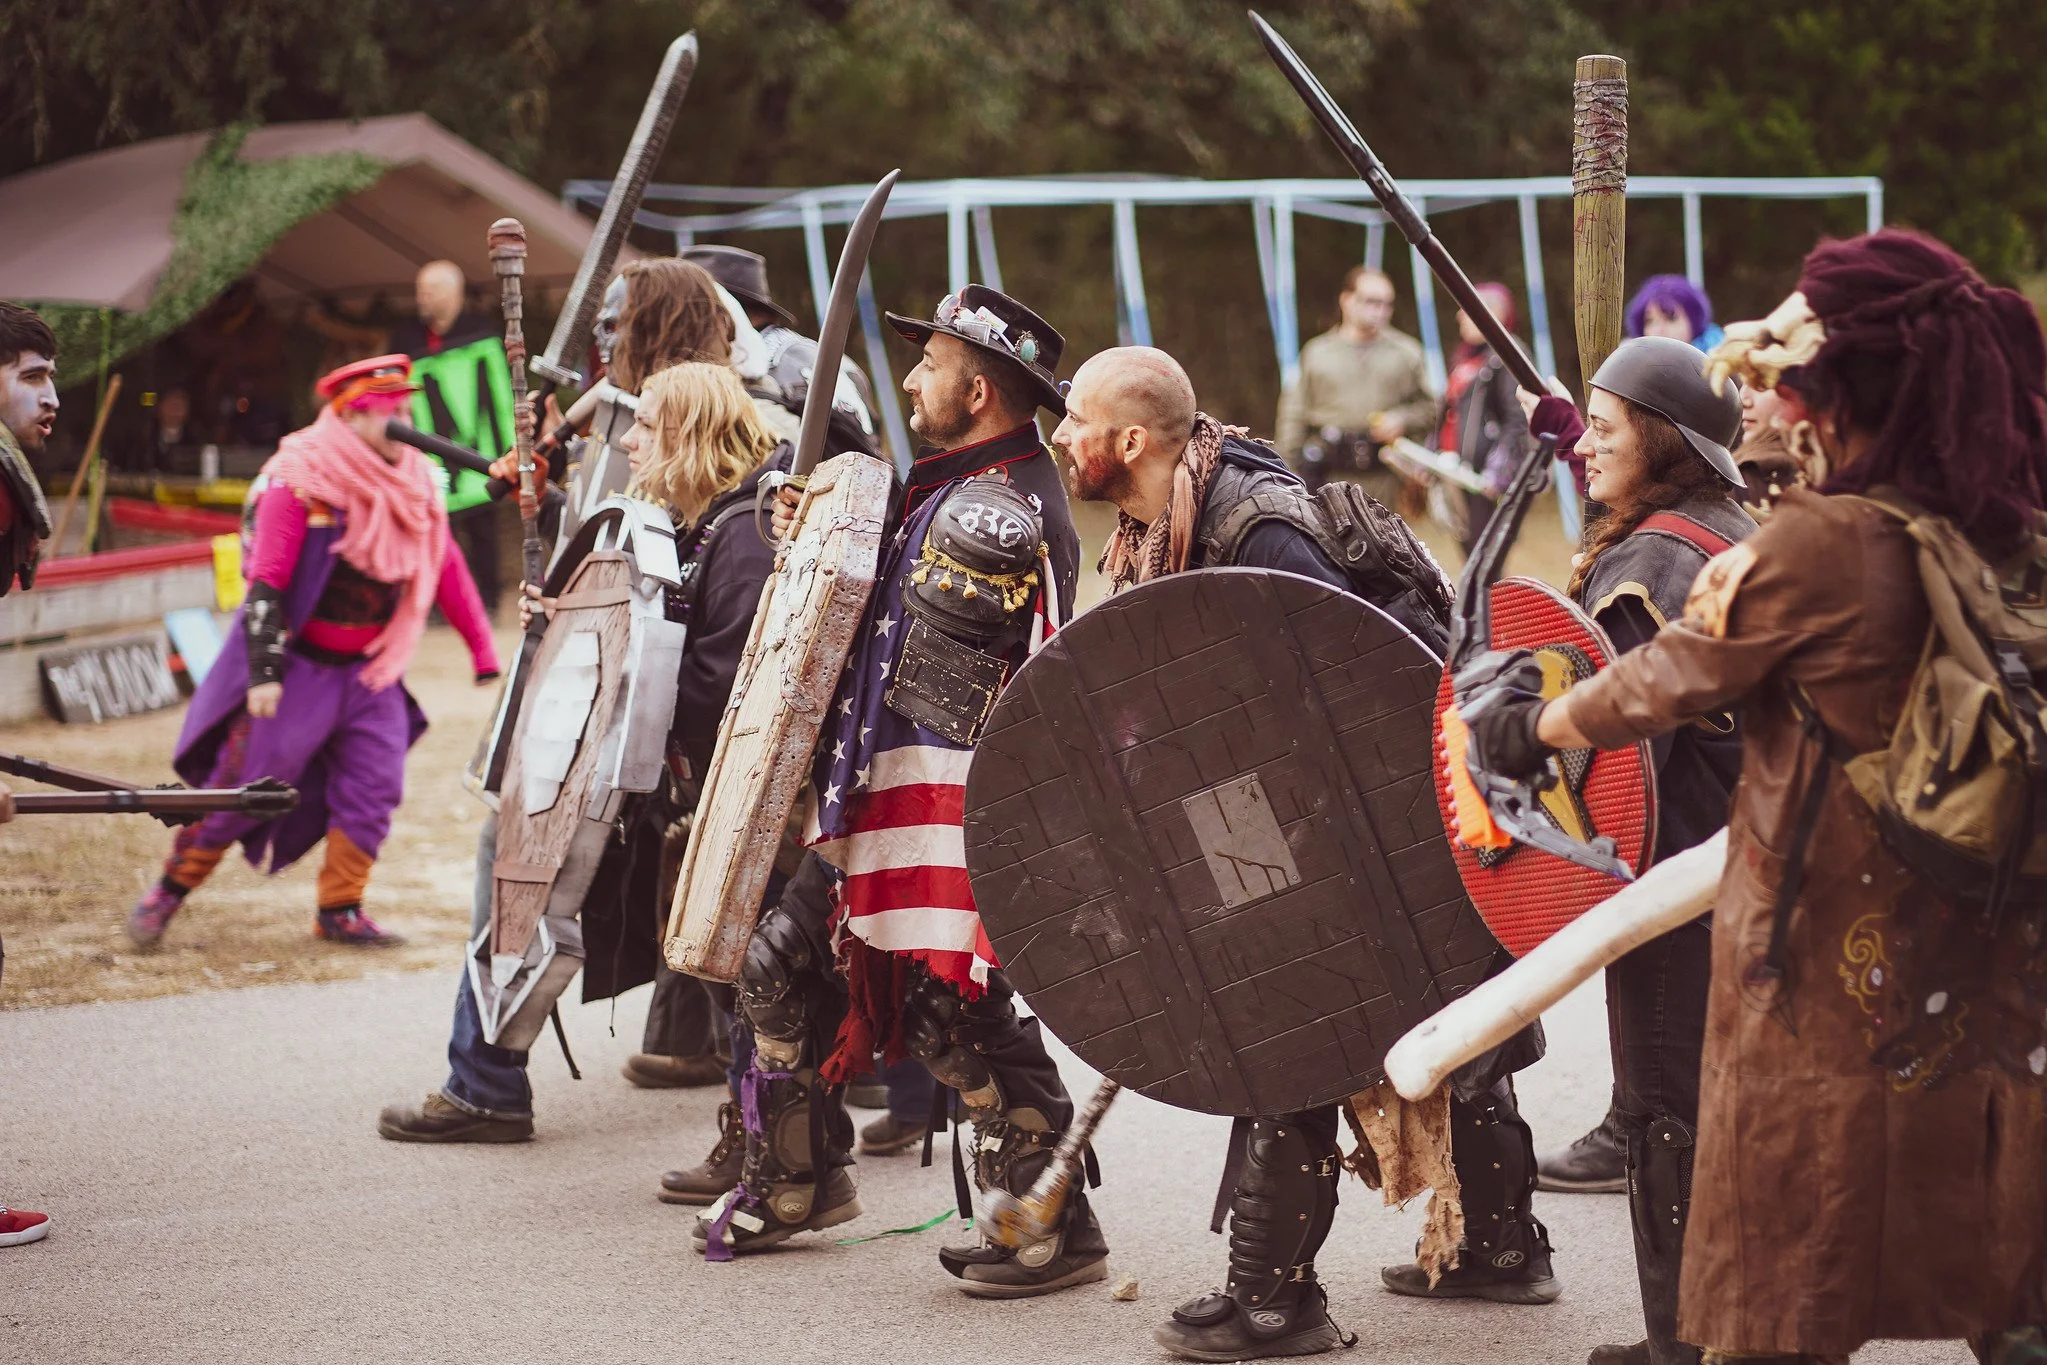
Our photos for this post were taken from previous DR:TX events by our talented Photo Team, including Max Pohlmeier, Lauren Guzaldo, Sidney Betzina, Maddeax Cole, and Jason Dumas.

The war comes home
During the September event, the remaining Board forces will be launching an all-out assault on the town of Bravado. This will be a combat-focused event overall, but we want to have some fun, epic fights that involve a bit more than just swinging a boffer. During the event, there will be several set-piece CONFLICTS, where you will engage with the San Saba Board forces in town. During these attacks, the enemy will be attempting to damage key infrastructure in the town, and it will be up to your characters to stop them and protect your home.
During each fight, there will be several VICTORY CONDITIONS. In addition to weathering the assault by the Red Ledger Mercenaries and members of the elite Praetorian Guard, you’ll also have to achieve several objectives during the battle to claim victory from the Chairman. You’ll have a chance to learn about these victory conditions in advance provided you invest your Combat Units wisely, but each will be clearly communicated on a Zone of Mechanics at the battle site.
For some fights, you’ll have COMPLICATIONS, which will challenge you in new ways like adding a timer to the fight, an additional task that must be completed, or a unique mechanic for the fight. These will generally be something that must be overcome during the fight, but there will be some ways to mitigate these challenges through a “scouting report”, but we’ll cover that next week.
You’ll need to defend several key locations around the town over the weekend:
The Post Office
The Depot
The Meadows
The Morgue
Devil’s Gorge Bridge
Helios Solar Panels
Punkerport
While each fight will have some kinetic elements you’ll face like disarming a bomb, sealing a tunnel, or solving a puzzle, the primary Victory Condition feature of the weekend will be our CAPTURE THE FLAG events. Many of the major conflicts will include this feature, and it’ll happen in one of two ways. Let’s cover the first Capture the Flag event mechanics.
Capture the Flag
During the weekend, you’ll have to represent the Bravado forces in battle in the best way possible — by carrying the Bravado Flag into the fray and flying it over the battlefield. As both an example of the Bravado spirit, and a tangible and visible beacon of the town, a flag will help us represent the larger conflict for the town during our war games. As long as the flag is still flying, you’ll know Bravado stands strong.
During a Capture the Flag event, you’ll have to protect the Bravado Flag and make sure the flag doesn’t fall into the hands of the enemy San Saba forces. You’ll need to protect the character carrying the flag and defend the area while the Board forces attack while achieving any other objectives within the conflict. Here’s the specific details:
Victory Condition:
The Bravado Flag must remain in the same player’s hands in the contested area for a period of FIVE (5) uninterrupted minutes. If the flag bearer leaves the area, the flag changes hands, or the flag bearer is knocked into Bleed Out, the timer is reset. A Guide or NPC will generally keep track of the flag timer, and call out loudly the minutes as the timer is completed.
Once this timer is completed, you may loudly call “San Saba Board, GET WRECKED!” and claim victory at the battle, or cast down an enemy flag.
The Bravado Flag (Unique Local Plot Item)
A Shining Beacon of Freedom - The Bravado Flag cannot be hidden and must remain visible at all times as a symbol to keep fighting. If it is obscured or hidden, the timer is reset.
Carrying the Flag - The Flag is a one-handed item and is not a weapon. You cannot carry other items in that same hand or use a two-handed item. It can be targeted with effects like Telekinesis but cannot be Broken with the Break skill.
The Burden of Duty - The bearer of the flag cannot run or move faster than walking while carrying the flag.
Till Your Dying Breath - If the Flag Bearer enters Bleed Out or is otherwise Stunned or Incapacitated, they drop the flag and the capture timer is reset.
These Colors Don’t Run - The Flag cannot leave the area of engagement during the conflict. If the flag leaves the area, the timer is reset and the battle can be considered forfeit.
So let’s break this down:
You can’t hide the flag or just try to outrun the enemies. Carrying the flag will slow you down and take up one of your hands so you can’t use certain items. The flag also needs to stay in the area and be visible, so the San Saba Board knows you are fighting back. If you flee the area with the flag, you’ll generally lose that battle and that might have some other consequences for the game. For instance, if the Chairman’s forces damage the Solar Panels, you won’t be able to rely on lights in the buildings at night, and we will only have the red safety lights up during nighttime hours.
The main way to lose the flag is if the flag bearer gets attacked. If the character holding the flag takes a Stun effect from a skill like Takedown, gets Knocked Out by something like Proficient Biokinetics, or gets knocked into the Bleed Out, they will have to drop the flag. This means the flag bearer should probably save some Avoids for defense, and make sure they have medics or psions close by to keep them from falling in combat.
Keep in mind, the flag bearer will probably be the number one target on the field, so carrying the Bravado Flag isn’t for the faint of heart and it’s definitely not a role for a non-combatant. You will likely get attacked and hit by a boffer if you carry the flag!

COmplications
The Capture the Flag mechanics adds a bit of a challenge to a fight, but that won’t be the only challenge that Arthur Lovelace has in store for the town of Bravado. At some of the conflicts of the weekend, there will be additional complications that will provide a new challenge during the fight. You’ll have to overcome these challenges in addition to securing the flag or defeating the Board forces.
Let’s talk about one of my favorite Complications for the weekend:
The Devil’s Gorge Bridge
A large chasm separates the battlefield and CANNOT be crossed by any means. You may not cross the marked area and close to melee range for any reason, even with Enhanced Movement, Never Here, or other similar movement effects.
If you enter into the marked chasm area for any reason, your character is immediately knocked into Bleed Out and is removed from the battle, likely to die far outside of the reach of your allies.
You will need to use RANGED attacks to deal with the enemy forces on the other sides, such as firearms, bows, exotic weapons, or psionic attacks. Until all of the enemy forces are defeated at range, you cannot claim victory during the conflict.
That’s right. It’s time for those NERF guns, baby!
I’ll be bringing a few extras to share with our NPCs, but this combat event is the perfect time to break out your favorite blaster for a shootout at the Devil’s Gorge Bridge! Time to take aim and prove that shield bros aren’t the only folks that can win a fight!
This is just one example of the Complications you’ll face during these big battles, but you can expect each to require some different tactics, kinetic events, or other means of interacting with the environment during the fight. You’ll have to adapt quickly, and plan your defense at the Chairman’s troops if you want to win the day.

advance the line
The final type of Capture the Flag event will take place at the start and the end of the weekend event. As the town enters the battle on Friday night and as they push towards the final conflict with Arthur Lovelace on Saturday night, you’ll need to advance the line of battle by completing a special type of Capture the Flag mechanic.
Advance the Line
This fight is a series of linked Capture the Flag events. There are three different San Saba Board Flags that represent an advance into the enemy line. At each point, the players must hold the line with The Bravado Flag for FIVE (5) uninterrupted minutes to capture the territory.
The Bravado Flag must remain within AOE range of the posted San Saba Board flag to start the timer and cannot proceed further. If the Flag or any Bravado forces advance past this line of battle, the Guides in the area will begin to call MORTAR and SNIPER attacks on the players until the flag is fallen or falls back behind the line of battle.
The Bravado Flag must remain in the same player’s hands in the contested area for a period of FIVE (5) uninterrupted minutes. If the flag bearer leaves the area, the flag changes hands, or the flag bearer is knocked into Bleed Out, the timer is reset. A Guide or NPC will keep track of the flag timer.
Once this timer is completed, you may loudly call “San Saba Board, GET WRECKED!” and prominently throw down the San Saba Board flag posted at the line of battle.
VICTORY CONDITION:
Once three (3) San Saba Board Flags have been cast down, you can claim final victory and rout the enemy forces or advance to the next stage of battle.
Advancing the Line is similar to the other Capture the Flag events, but this time we will have three flag markers for the San Saba Board Flag. In each part of the fight, you’ll need to advance with your allies up the field claiming territory, holding ground at the line of battle, and then casting down the enemy flag once you’ve asserted your tactical dominance in the area. Once three flags have been taken down in your advance, you’ll have won the day!
If you get too greedy and try to advance too fast, the cannons and mortars of the San Saba Board forces will punish your advance. You’ll need to be organized and advance the line across the field of battle as you hold your own flag. The same rules apply here, and if your flag bearer is taken out or stunned, you’ll have to restart the timer, so protect them at all costs!
These will be BIG, epic battles, and you can expect some of the major generals and leaders of the San Saba Board to be present for the fight. We hope you are ready at survive the war at home, and take the fight directly to Arthur Lovelace!

Wrap Up
That’s it for today Vados!
We have only a week or so until the first event of the season and we are so excited to see your shining happy faces again in our neck of the wastelands! Will you be about to weather the fury of the Chairman? Will you get your final revenge on Arthur Lovelace and truly break the organization known as the San Saba Board? Will you prove on the battlefield that Bravado will be the architect of its own future? Let’s find out together in THE FALL OF THE SAN SABA BOARD!
Get your tickets now for THE FALL OF THE SAN SABA BOARD!
Next week, I’ll cover a few of the Threat Skills you can expect to see, some of the mechanics to use War Supplies and Combat Units, and other Rules You Should Know the week of the event! See you soon Vados!